AR Diorama
AR at tabletop scale and life-size that is more connected to its environment, including through physics and lighting
About
This was my second project for CS428 (Virtual and Augmented Reality) at the University of Illinois at Chicago. Two Vuforia card markers were to provide an augmented reality diorama of my room in Japan before the COVID-19 pandemic. The project was to create a personal use of artificial reality at both life-size and tabletop scale, with the assumption that one day people would also interact with other dioramas through the use of lightweight glasses. This could also be expanded through the use of digital assets to customize their diorama to showcase their personality, or recreate an experience.

Perhaps, in the future, giving the characters in the diorama some sort of AI to interact with both the user and environment would be possible, and can definitely make the the diorama feel more alive. Personally, I feel this form of creativity is something Nintendo would do, and would make it feel like a mix between Tomodachi Life (3DS) and Seaman (Dreamcast).

The television is displaying a local embedded video of the Japanese X-Men intro with the volume of the TV being proportional to the user’s distance. The closer your head is to the TV, the louder it gets, and the further away you view the diorama, the softer and more faint the volume is. This is done by giving a 2D plane the ability to playback videos, and overlapping the plane in front of a CRT TV model helps simulate an actual television screen.

In the middle of the diorama is a giant red button, and pushing it with your actual finger in augmented reality will play back random voice samples of my voice in WAV format. This project really is like playing with an action figure playset from the 90’s.

Using the other Vufuria play marker will spawn another playset that is about the same size as a standard computer desk and was designed for giving a representation of my desk as if you were sitting in front of it. Spawning a cascade of red balls that bounce around the diorama is also possible, and in the photo above, I’m using two markers at the same to test the collision on walls and ground.
Since I’m not very good at creating my own human model in Blender (one day I’ll nail it though!), the character model was made using MakeHuman and Mixamo (for motion, using FBX for Unity, 3D, with skin, and no keyframe reduction).
Overall, this was a great project that really helped me articulate some creative thoughts that I can use in future projects.
Build instructions
-
First get the source code for this project by clicking the GitHub button below. Once you are in the repository, click the green “Code” button and select either “Download ZIP” or if you have git installed, go ahead and clone the repo.
-
Make sure to have Unity Hub downloaded on your computer and activated with a license. On the left, go to “Installs” and, on the top-right, click “Install Editor”. You should see an “Archive” tab, go there and click the link that says, “download archive”. In the archive, look for Unity 2019.4.1 and click the blue “Unity Hub” button.
-
After it’s installed, in Unity Hub, on the left sidebar, click the “Projects” section and on the top-right, click “Add”. Navigate to the source code you downloaded in step 1 and add from the root of the folder. A bunch of stuff will be imported, so go grab something cold to drink, and relax for a bit.
-
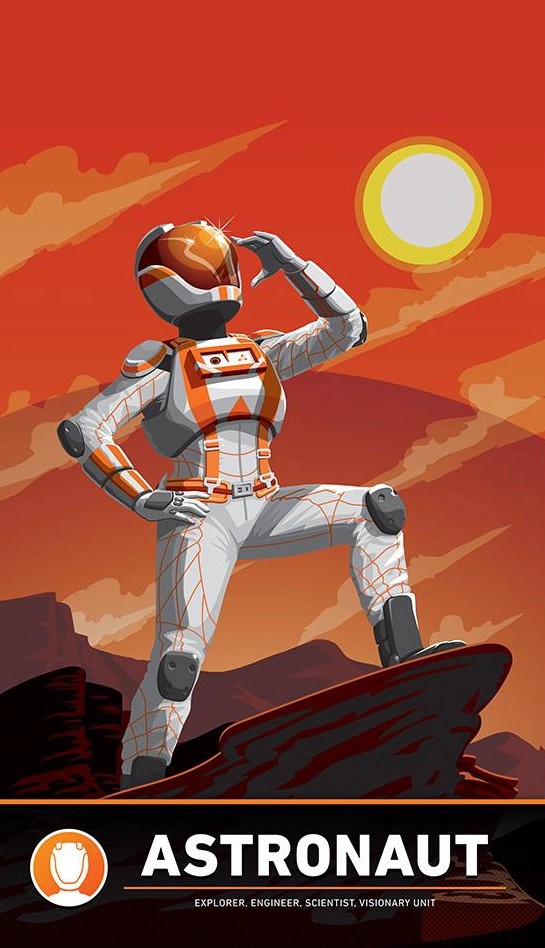
Once the import is finished, go to the folder “Scenes”, then in there click on the first Scene in the folder. Once the scene loads, you should see a run button and a Astronaut marker underneath it. You’re in the correct scene!. Click the play button above to load and run the scene, then your camera should turn on. Go ahead and use the Astronaut marker below.

Sources
- X-Men the Animated Series Opening 1 - Music: RISING by AMBIENCE

